Compatible RC Transmitter and Receiver Systems
This article provides an overview of the RC Transmitter and Receiver Systems that can be used with Pixhawk along with guidance on how they are connected.
Overview
- Pixhawk is compatible with
- PPM-Sum receivers
- S.Bus receivers
- Spektrum DSM, DSM2, and DSM-X Satellite receivers
- MULTIPLEX SRXL version 1 and version 2 receivers
For traditional single-wire-per-channel (PWM) receivers, a PPM encoder can be used to convert the receiver outputs to PPM-Sum.
Connecting the receiver
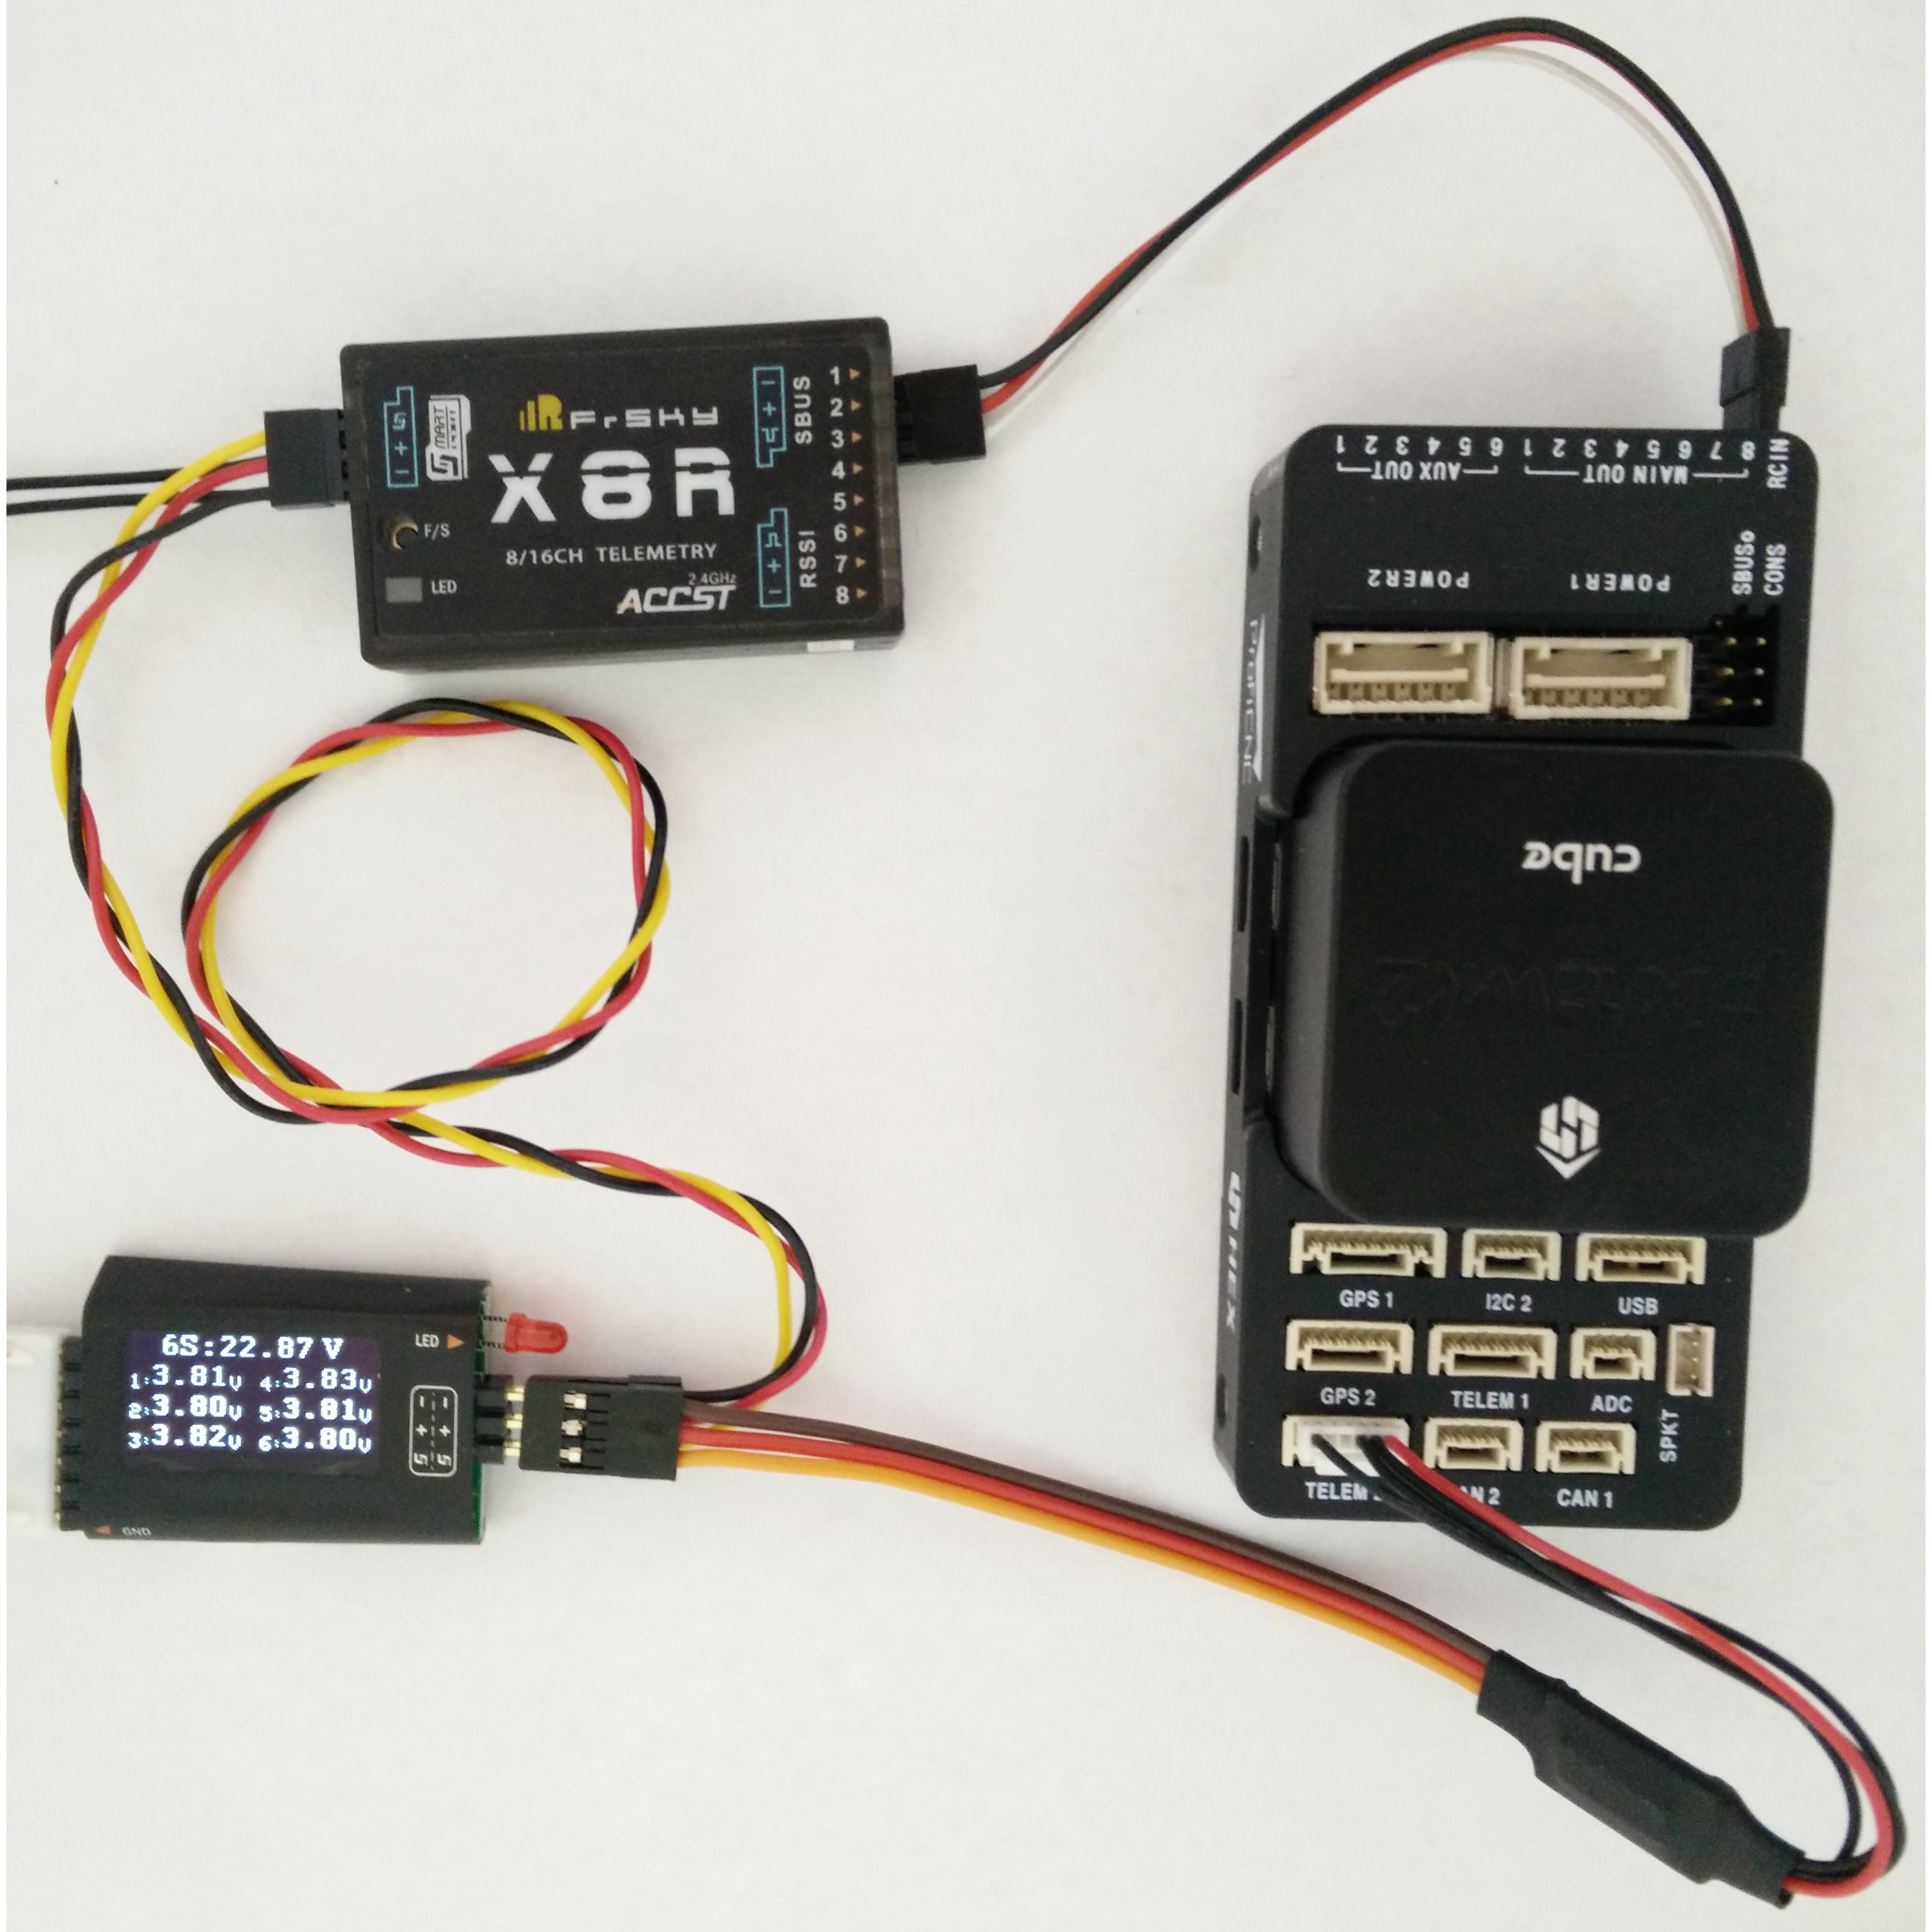
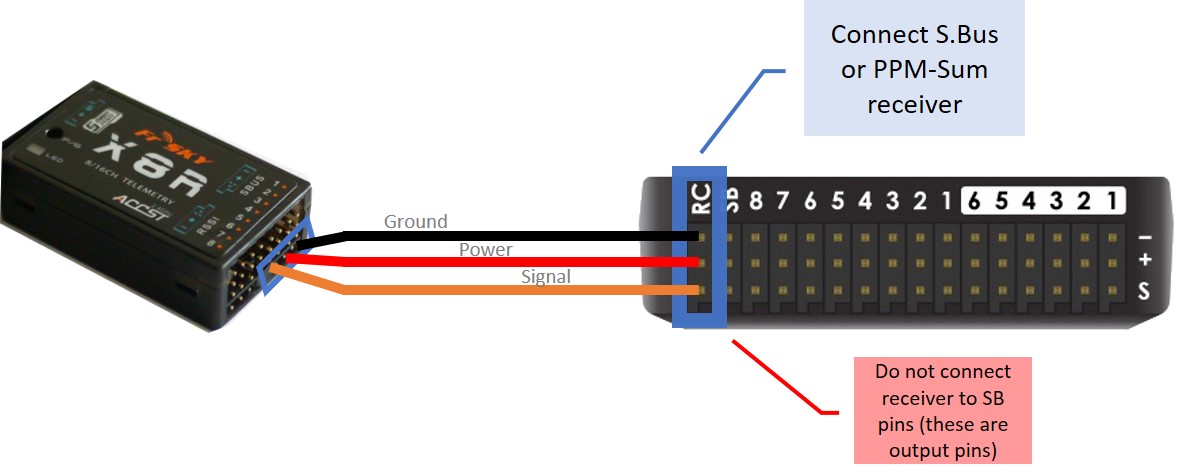
To connect a PPM-Sum receiver or an S.Bus receiver, plug the ground (black), power (red) and signal (usually white - orange in the diagram below) wires to the RC pins on the Pixhawk. The following S.Bus receivers have been tested and are known to work: FrSky X8R, FrSky XSR, Futaba R2008SB, Futaba R6008SB.
For a Spektrum DSM, DSM2, or DSM-X Satellite receiver, connect to the SPKT/DSM port.

For a MULTIPLEX SRXL receiver, connect the SPKT/DSM port of the Pixhawk to the B/D port of the MULTIPLEX SRXL receiver, without using the +3,3V voltage supplied at the SPKT/DSM port of the Pixhawk and power the MULTIPLEX SRXL receiver separately.

Details how to enable the SRXL signal on MULTIPLEX receivers can be found in SRXL R/C Receivers
- These MULTIPLEX SRXL receivers have been tested and are known to work:
- RX-4/9 FLEXX #55837, Firmware 1.31 –> 4 servo sockets, 9 of 16 channels active on SRXL v2 datastream
- RX-4/16 FLEXX #55838, Firmware 1.31 –> 4 servo sockets, 16 of 16 channels active on SRXL v2 datastream
- RX-5 #55817, Firmware 1.26 –> 5 servo sockets, 5 of 12 channels active on SRXL v1 datastream
- RX-9-DR #55812, Firmware 1.26 –> 9 servo sockets, 9 of 12 channels active on SRXL v1 datastream
- RX-9-DR SRXL16 #55840, Firmware 1.35 –> 9 servo sockets, 16 of 16 channels active on SRXL v2 datastream
- RX-16-DR pro #55815, Firmware 1.35 –> 16 servo sockets, 16 of 16 channels active on SRXL v2 datastream
Radio systems that support PPM-Sum or S.Bus directly
This section list radio systems that support PPM-Sum or S.Bus directly.
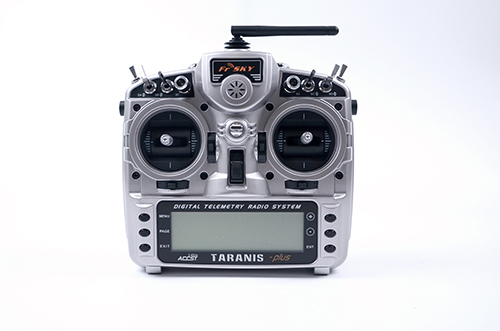
FrSky Taranis X9D Plus and Taranis Q X7 RC Transmitters
Tip
These transmitters are highly recommended for all RC uses.
Note
Theses transmitters are a real bargain. You can buy them from different locations e.g. Craft and Theory, Aloft Hobbies .
The FrSky Taranis RC Transmitter is a high quality OpenTX (open source firmware) enabled RC Transmitter that is compatible with a wide variety of high quality FrSky PPM-Sum and S.Bus compatible receivers.
One of the major advantages of the Taranis is that it can receive and display telemetry data directly from ArduPilot and on-board FrSky telemetry sensors, such as flight mode, GPS status, current drawn and cell voltages, and even ArduPilot messages, that can be added to your vehicle. For more information, see FrSky telemetry.
Both the Taranis X9D Plus and the Taranis Q X7 have integrated ACCST 2.4GHz transmitters that are compatible with X series FrSky receivers such as the very popular X8R or the newer and lighter XSR receivers. This means that an additional JR type transmitter module is not required. If needed, both the Taranis X9D Plus and the Taranis Q X7 have JR module bays for external radio transmitters.
Features that we like are:
- 2.4GHz ACCST frequency hopping radio transmitter with range that is sufficient for most VLOS applications
- Quad Ball Bearing Gimbals
- Audio Speech Outputs (values, alarms, settings, etc.)
- Vibration Alerts
- Receiver Signal Strength Indicator (RSSI) Alerts
- Open source firmware OpenTx
- Flash via USB
- High visibility LCD screen
- Very reliable and low latency telemetry with matched FrSky receiver
- Removable MicroSD card to store sounds, voices, models and custom scripts
The Taranis X9D and Taranis Q X7 can run the FlightDeck telemetry user interface.

FrSky X Receivers
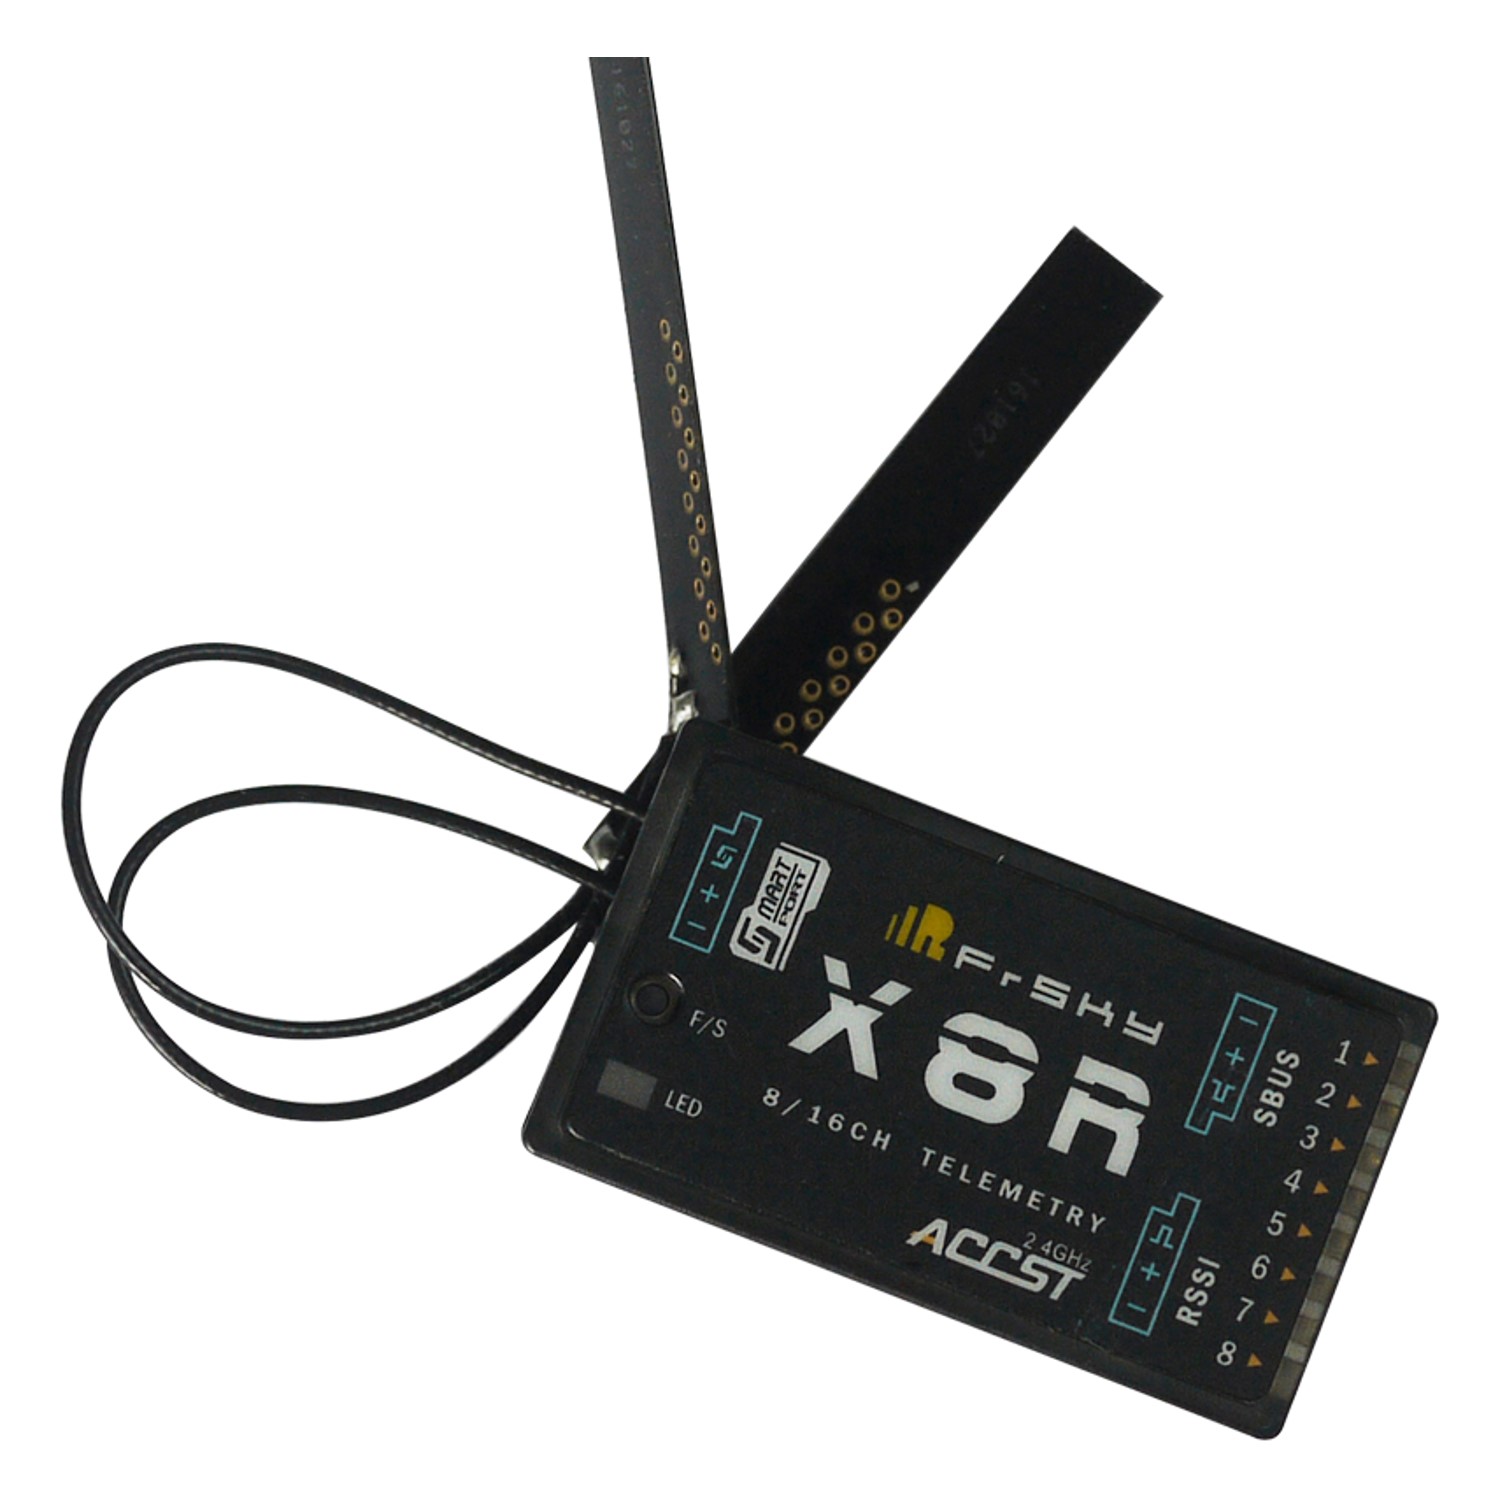
FrSky X receivers are compatible with the FrSky Taranis and XJT transmitter modules. They support S.Bus and bidirectional S.Port telemetry. For more information about FrSky X receivers, refer to the receiver section on the FrSky telemetry page.
Warning
Make sure to connect the S.Bus port on the X8R receiver to the RC IN port of the Pixhawk/Cube. The S.Bus port on the Pixhawk is actually an S.Bus out connection!
Turnigy Transmitter Compatible With FrSky Transmitter Module

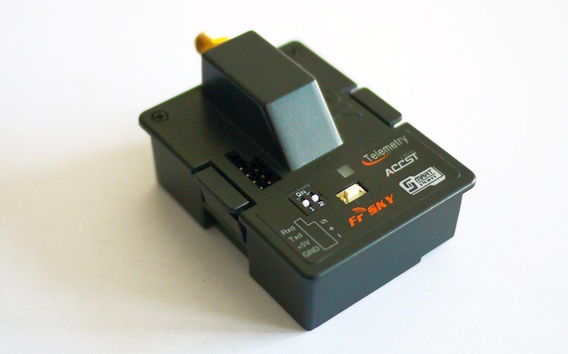
FrSky Transmitter Module and S.Bus/PPM-Sum Receiver
The FrSky receiver and transmitter modules below will work with Turnigy 9x, 9XR (above) and other RC transmitters.
FrSKY makes several PPM-Sum and S.Bus receivers and transmitters FrSky’s web site.
The FrSky XJT module is a 2.4GHz frequency hopping “ACCST” transmitter that features Smart Port telemetry. It can operate in 8 channel, 16 channel and long range 12 channel mode. The XJT is compatible with the FrSky X series receivers such as the popular X8R and XSR. This radio
The RX8 and XSR receivers have S.Bus and CPPM outputs, and also feature Smart Port telemetry, which provides telemetry from ArduPilot and other on-board FrSky sensors (current sensor, cell voltage sensor, temperature sensor, …)
Futaba Transmitter Compatible With Futaba S-Bus Receivers
Futaba S.BUS2 receivers are supported since Copter/Plane 3.2.
The list of supported receivers is given below:
- Futaba / Ripmax R7008SB S.BUS 2 Receiver
- Futaba / Ripmax R6303SB S.BUS Receiver
- FrSky TFR4 SB 3/16ch 2.4Ghz S.BUS Receiver FASST Compatible (HobbyKing)
- Futaba FASST S.BUS 2.4 GHz Receiver R6303SB
- FrSky FASST compatible S.BUS compatible TFR8 SB 8ch 2.4Ghz Receiver (HobbyKing)
Note
The list above is from pixhawk.org here.

Further notes on S-Bus / S-Bus 2 compatibility
In addition to the receivers discussed in the Futaba Transmitter Compatible With Futaba S-Bus Receivers section above, we have anecdotal information that a number of other receivers are also compatible (see discussion Current state of SBus compatibility? on drones-discuss mailing list).
These include:
- FrSky X4, X6 and X8 Receivers on SBUS.
- Delta 8 FrSky receiver
- X8R receivers (non-EU versions) with OpenTX -Taranis X9D, via the receiver SBUS out on the receiver to RCIN on the PixHawk.
- OrangeRX R800 receiver that also has SBUS output, with both a Spektrum DX9 and also a Taranis X9D with OrangeRX transmitter module.
- DX8 with OrangeRX R800 and also the Lemon RX 8-channel PPM
- OrangeRX DSM receivers
Tip
The parameter to enable the SBUS output from the PixHawk is BRD_SBUS_OUT.
Spektrum Satellite Receivers Operate on PPM-Sum
- It is feasible to use a single Spektrum Satellite Receiver
to act as a DSM receiver with Pixhawk.
- Simply pre-bind the Spektrum Satellite to your transmitter using a conventional Spektrum receiver with satellite attached.
- Then connect the tiny Spektrum Satellite receiver to the special “Spektrum” connector on the Pixhawk.
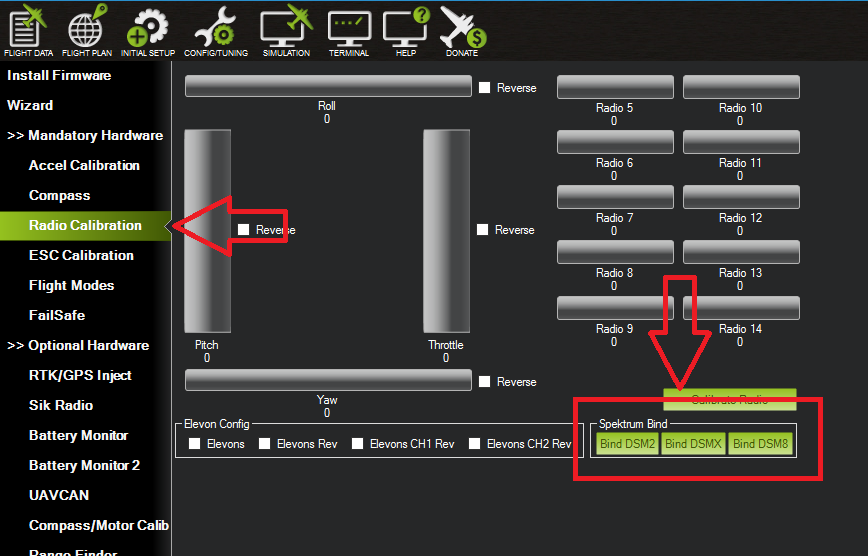
- The satellite receiver can be bound to transmitter with Mission Planner. This functionality is located in Radio Calibration screen on Initial Setup.
- Being a satellite, range is limited with this configuration and the preceding receivers and methods may provide greater range.
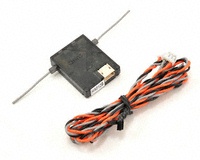
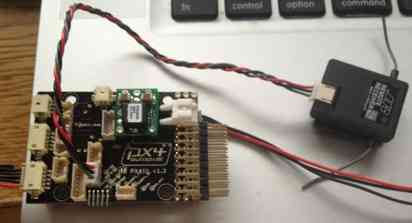
PPM encoder and telemetry radio
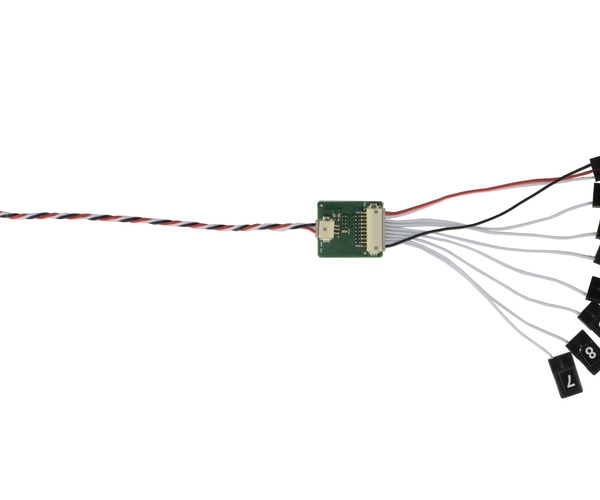
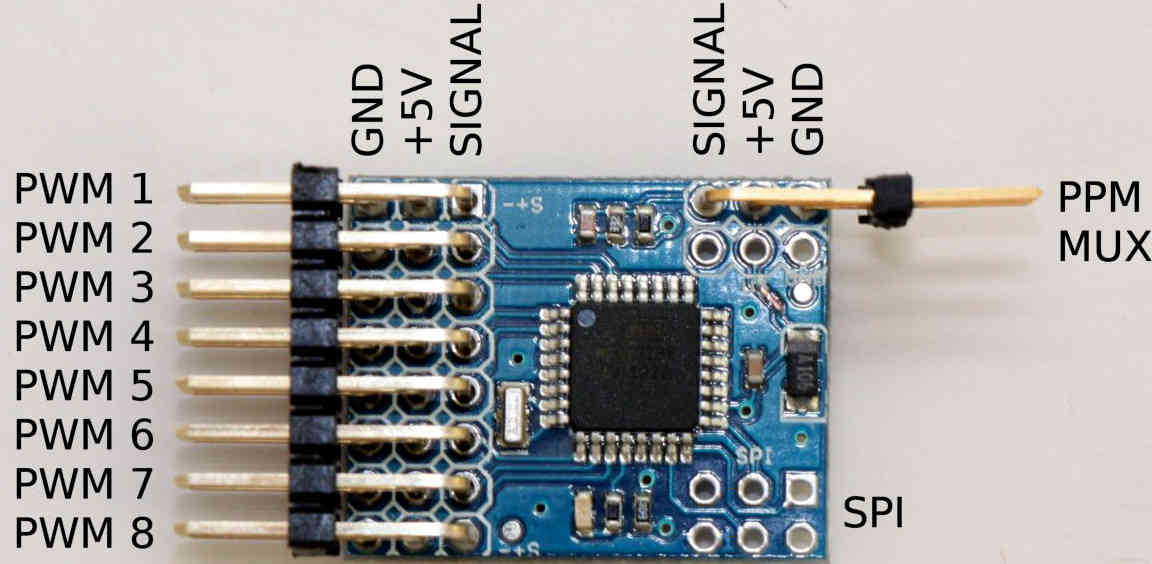
A PPM Encoder will allow you to use any conventional RC receiver. Both the new and previous versions of the 3DR PPM-Sum encoder (the linked encoder is compatible) are shown below:
There are some downsides of using this encoder:
- The PPM Encoder does require quite a bit of additional wiring to the receiver.
- It uses quite a bit of power making it likely you will need to plug in your battery while doing radio setup with USB cable in Mission Planner.
- The encoder also costs as much or more than several of the available PPM-Sum receivers including the FrSky Delta 8 below.
There is addition information about connecting and configuring the encoder here.
Using the 3DR PPM Sum encoder in a system
The diagram below shows how to use the original 3DR PPM-Sum encoder. The linked encoder is used in the same way.
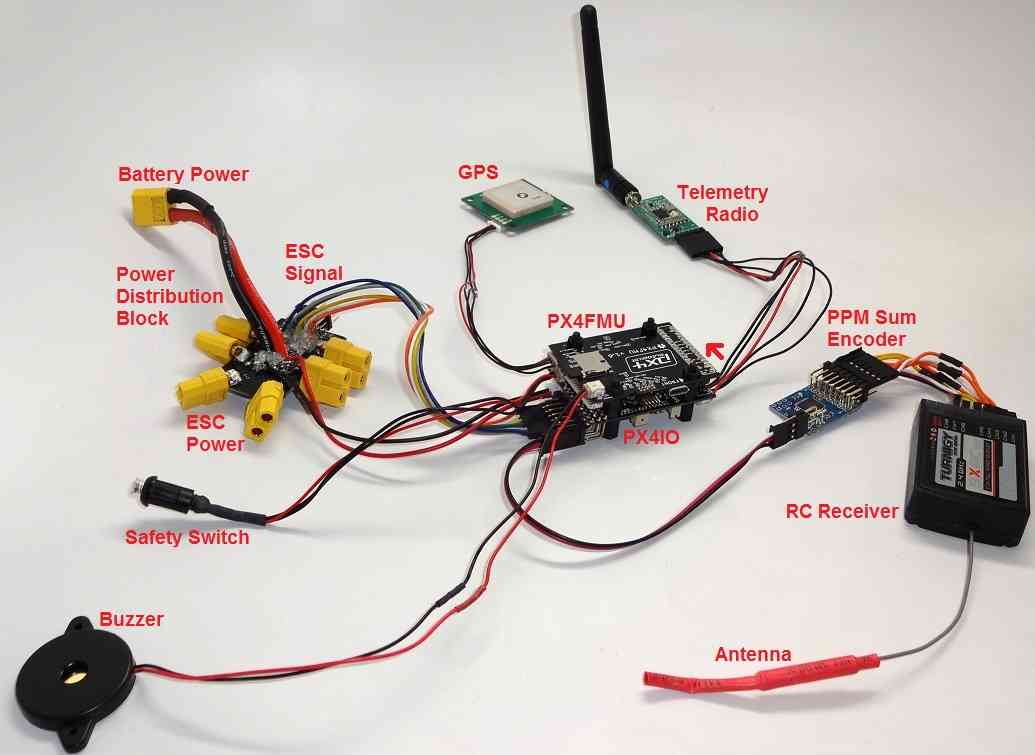
Using a Standard RC Radio Receiver with 3DR PPM Encoder
- You can use a standard radio receiver with an 8 channel PPM Encoder
in place of the PPM-SUM receiver.
- An 8 Channel PPM Encoder is available from jDrones here.
- Solder a 3x8 Right angle connector from the top into one end of the 8 Channel PPM Encoder board.
- With the 3x8 connector up and facing away from you, solder a 3x1 Right angle connector on the right edge of the 8 Channel PPM Encoder board.
- Connect 5-8 output channels of your receiver to the inputs of the 8
Channel Encoder (signal wire furthest from board) with 5-8 female to
female servo jumpers.
- Connect the PPM-SUM output of the Encoder with a 3 wire cable to the PX4IO boards PPM sum input (1x3 connector).
Note
If you are using this PPM Encoder it is important to know that when you are calibrating your transmitter you will quite likely need to hook up your flight battery to the PX4IO because the USB port alone can’t supply enough power.

