Mounting the Flight Controller
This article explains how to mount the flight controller in standard and alternative orientations.
Standard orientation
The flight controller (Pixhawk etc.) should be housed within a case (which includes foam over the barometer) and should be mounted with the white arrow pointing directly towards the front of the vehicle.
It should be placed close to the center of gravity of the vehicle (both horizontally and vertically). Generally this means it should be placed within a few centimeters of the middle of the vehicle and level with the motors. It is not critical that it is placed exactly at the middle but closer is better (there are no recorded cases of problems caused by the controller being far from the centre of gravity).
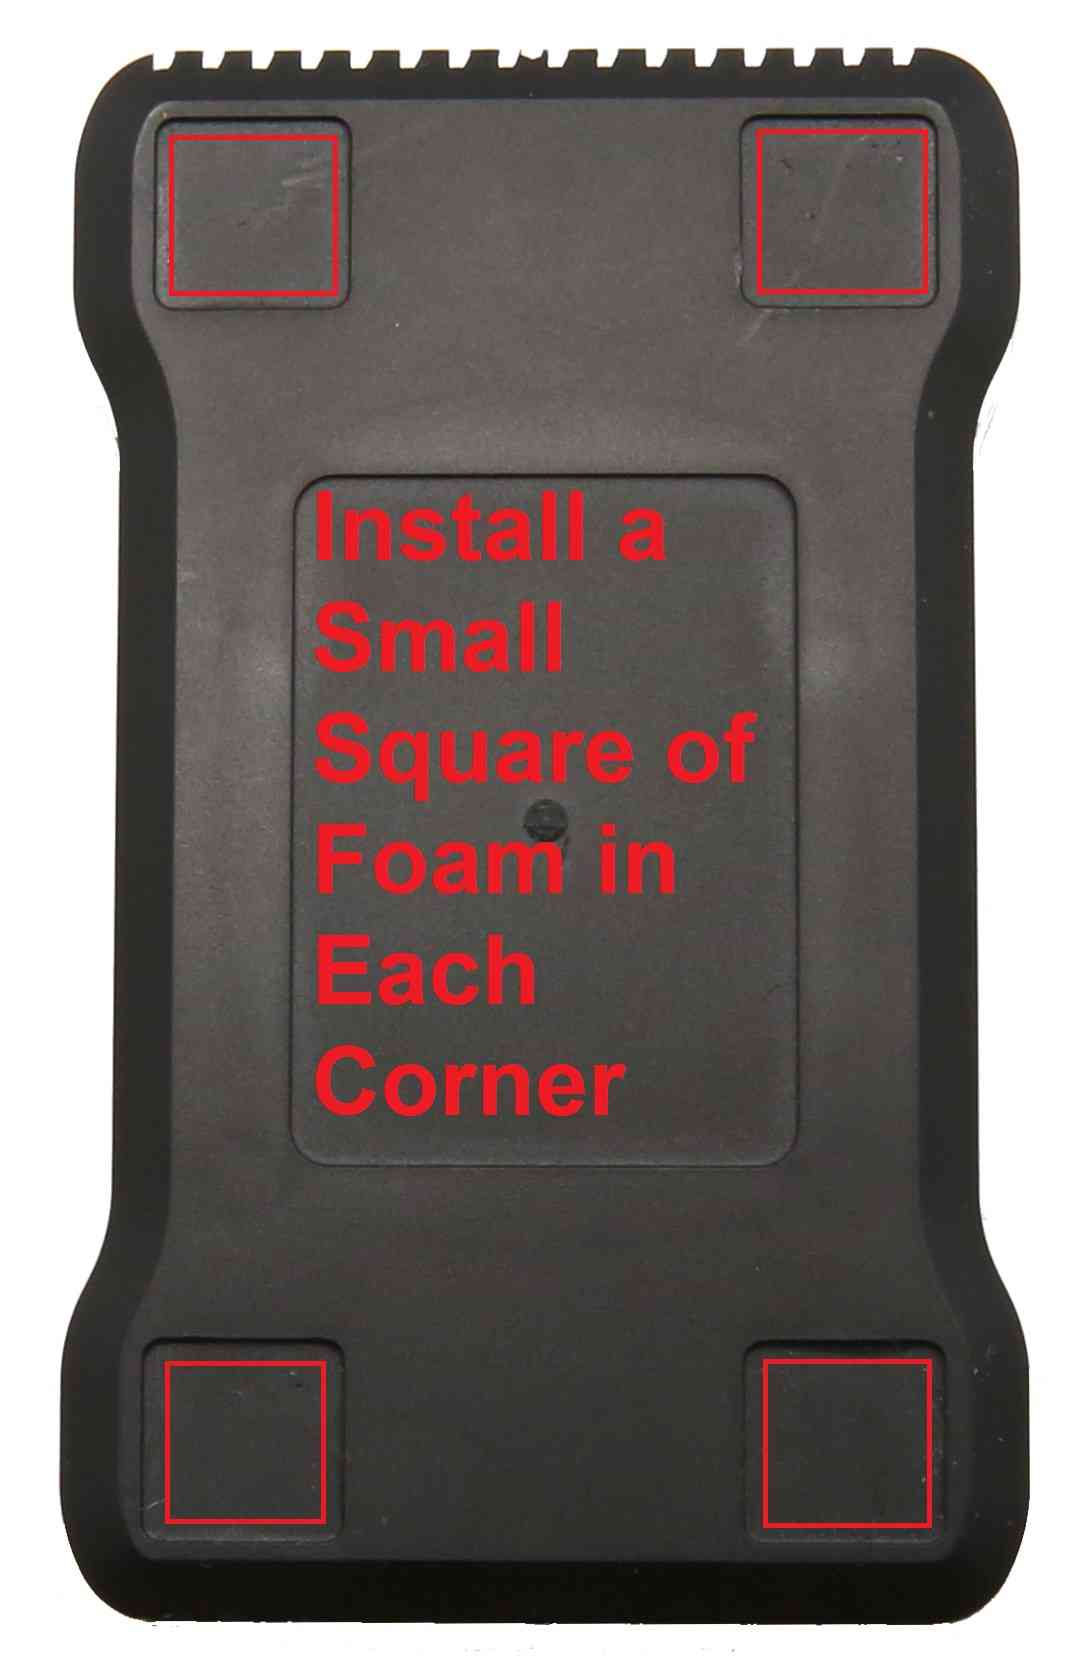
The board should be attached to the frame using 4 cubes of vibration dampening foam approximately 3/4 inch square (3M foam can be purchased from mRobotics).

Tip
Vibration dampening foam is a simple and effective mechanism for vibration control. If Measuring Vibration shows that it is not sufficient, alternative mechanisms are discussed in Vibration Damping.
Alternative orientations
If the standard orientation of the Flight Controller is not convenient, it
can be mounted in over 30 other possible orientations. The full list of
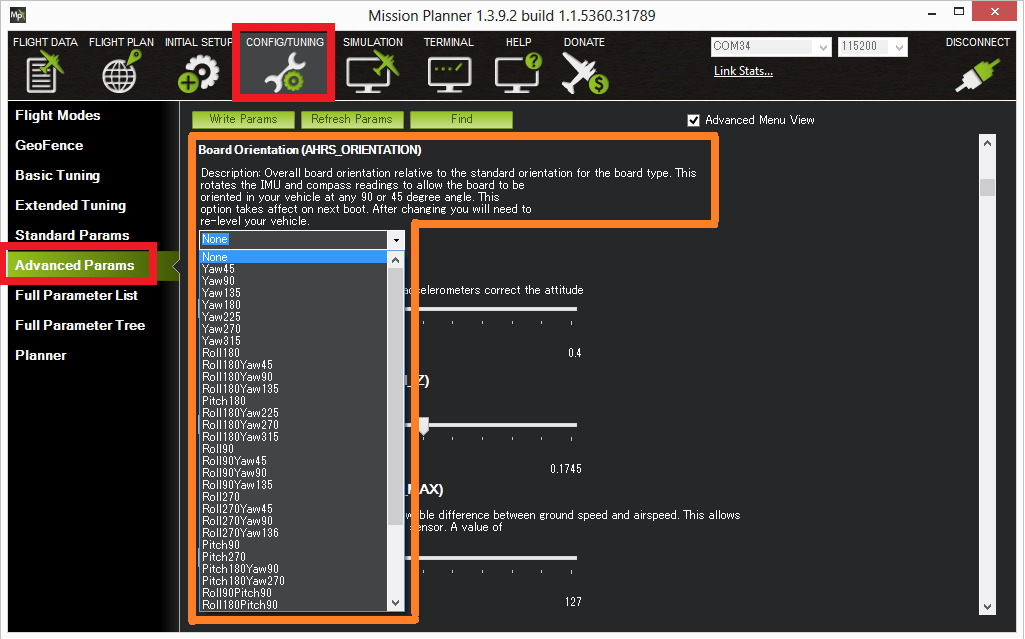
possible orientations can be seen and set through the Mission Planner
Config/Tuning | Advanced Params screen, look for the
Board Orientation (AHRS_ORIENTATION) parameter.
For Roll values, positive means roll right (i.e. “Roll90” means board is rolled right 90 degrees so the white arrow still points forward but the board is standing on it’s right edge).
For Pitch values, positive numbers indicate pitch back (i.e. “Pitch90” means the board’s nose is pitched up 90 degrees so the arrow points directly up)
For Yaw values, positive numbers indicate the nose of the board is rotated clockwise (i.e. “Yaw90” means board is rotated so white arrow points off to the right).
